So, you did it. The acceptance letter is in your inbox, and your dream of studying in the UK is about to become a reality. Congratulations! That feeling of excitement is incredible. But between you and your new life of lectures, library sessions, and exploring a new country, there’s one important step: securing your UK Student Visa.
The visa process can feel like a mountain of paperwork and confusing rules. Many students get overwhelmed, but you don’t have to. Think of this guide as your roadmap. We’re going to break down exactly how to get a UK student visa, step by step, without the complicated jargon. Follow these instructions, and you’ll be on that plane before you know it.
First Things First: What You Need Before You Even Apply
You can’t just decide to apply for a student visa. There are two critical things you must have before you can even start the application.
1. An Unconditional Offer from a Licensed Sponsor
First, you need an unconditional offer of a place on a course from a university or institution that is a Home Office licensed student sponsor.
- What does this mean? Not every school in the UK can accept international students. The institution must have a special license from the UK government. You can check if your chosen university is on the official register of licensed sponsors.
- Unconditional Offer: This means you have met all the academic and English language requirements. Your place is guaranteed. If your offer is “conditional,” you must meet those conditions (like achieving certain grades or an English test score) before the university can proceed.
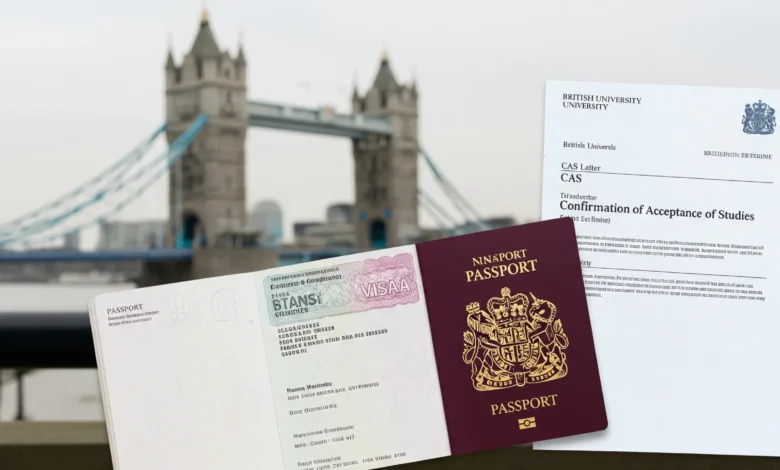
2. Your Confirmation of Acceptance for Studies (CAS)
Once you have your unconditional offer and have accepted it, your university will issue you a Confirmation of Acceptance for Studies (CAS).
The CAS is not a physical document; it’s a unique reference number that holds all your information electronically. This number is the absolute cornerstone of your visa application. It proves to the UK Visas and Immigration (UKVI) that you are a genuine student with a confirmed place at a legitimate institution.
Your CAS includes details like:
- Your course details and duration.
- The university’s sponsor license number.
- Tuition fees for your first year.
- Any tuition fees you have already paid.
- Any university accommodation fees you have already paid.
Crucial Tip: Do not apply for your visa until you have your CAS number. Your application will be refused without it.
The Main Event: Your Step-by-Step UK Student Visa Application
With your CAS in hand, it’s time to get started. Let’s walk through the process.
Step 1: Gather Your Essential Documents
Getting your paperwork in order is the most important part of the process. A missing document can cause delays or even a refusal. Create a folder and start collecting these items:
- Your Current Passport: It must be valid and have at least one blank page for the visa sticker (called a vignette).
- Your CAS Reference Number: As discussed above, this is essential.
- Proof of Funds / Financial Evidence: You must prove you have enough money to pay for your first year of tuition fees AND your living costs. This is a major reason for visa refusals, so pay close attention.
- Academic Documents: The qualifications you used to get your offer, as listed on your CAS. This could be your high school diploma, bachelor’s degree certificate, or transcripts.
- Proof of English Language Proficiency: This is usually a certificate from a Secure English Language Test (SELT), like IELTS for UKVI. Your CAS will state if this is needed.
- Tuberculosis (TB) Test Certificate: If you are from a country where you are required to take the test, you must provide a certificate from an approved clinic. You can check if you need a TB test on the official government website.
- Birth Certificate / Proof of Relationship: If you are relying on your parents’ funds, you will need to provide your birth certificate and a letter from them confirming their sponsorship.
- ATAS Certificate (if required): For certain sensitive subjects (like engineering and sciences), you may need an Academic Technology Approval Scheme (ATAS) certificate. Your university offer letter will tell you if you need one.
Step 2: Master the Financial Requirements
Let’s talk more about money because it’s that important. You need to show you have:
- Money for Tuition: The full tuition fee for your first year of study. The exact amount will be on your CAS. If you’ve already paid a portion of it to the university, your CAS will show that, and you only need to show the remaining balance.
- Money for Living Costs (Maintenance): The UKVI has set amounts for this.
- Studying in London: You need to show £1,334 per month for up to 9 months (a total of £12,006).
- Studying outside London: You need to show £1,023 per month for up to 9 months (a total of £9,207).
The 28-Day Rule: This is non-negotiable. The total required funds (tuition balance + living costs) must have been in your bank account (or your parents’ account) for at least 28 consecutive days. The date of the closing balance on your bank statement must be within 31 days of your visa application date. Do not let the balance drop below the required amount for even a single day in that 28-day period.
Step 3: Complete the Online Application Form
The application itself is done on the official Gov.UK website.
- Start your application here: Apply for a UK Student Visa.
- The form is straightforward but long. Take your time and fill it out carefully. Double-check all your details against your passport and CAS. A simple mistake can cause problems.
- You will be asked to upload digital copies of all the documents you gathered in Step 1.
Step 4: Pay the Fees
As part of the online application, you will need to pay two fees:
- The Visa Application Fee: This is currently £490 when applying from outside the UK.
- The Immigration Health Surcharge (IHS): This fee gives you access to the UK’s National Health Service (NHS). It costs £776 per year of your visa. You must pay this upfront for the entire duration of your stay. For a 3-year course, this will be a significant amount, so be prepared.
Step 5: Attend Your Biometrics Appointment
After submitting your online application and paying the fees, you’ll be directed to book an appointment at a visa application centre (VAC) in your country (often run by VFS Global or TLScontact).
At this appointment, they will:
- Scan your passport.
- Take your fingerprints (biometrics).
- Take a digital photograph.
This is how the UKVI verifies your identity.
Step 6: Prepare for a Potential Credibility Interview
Some students may be asked to attend a short interview, either in person at the VAC or over a video call. This is to check that you are a genuine student. Don’t panic! If you are, you have nothing to worry about.
They want to know that you’ve thought about your decision to study in the UK. Be prepared to answer questions like:
- Why did you choose the UK to study?
- Why did you pick this specific university and course?
- How does this course relate to your future career plans?
- How are you funding your studies?
- Can you tell me about the modules you will be studying?
After You Apply: The Waiting Game and Final Steps
Visa processing times vary by country but typically take around 3 weeks. You will receive an email once a decision has been made.
If your application is successful, you will receive your passport back with a 90-day entry vignette (sticker). This allows you to travel to the UK.
Your full visa comes in the form of a Biometric Residence Permit (BRP). This is a card that you will collect after you arrive in the UK. Your decision letter will tell you where and when to collect your BRP, which is usually from your university or a local Post Office.
Your journey to studying in the UK is an exciting one. The visa application is just one part of that adventure. By being prepared, organized, and following these steps carefully, you can navigate the process smoothly and successfully. Before you know it, you’ll be trading this guide for a campus map. Good luck!
Disclaimer
Important Disclaimer: Please Verify All Information
The guidance provided in this article is for informational and educational purposes only, based on information available at the time of publication.
Please be aware that UK visa rules, application fees, the Immigration Health Surcharge (IHS), and required maintenance fund amounts are all set by the UK government and are subject to change at any time, often on an annual basis. The figures mentioned in this article may become outdated.
This guide is not a substitute for official legal or immigration advice. For the most accurate, complete, and up-to-date information, you MUST consult the official GOV.UK Student Visa website before making any financial decisions or submitting your application. Your reliance on the information provided here is solely at your own risk.